An Introduction To Drying Timber
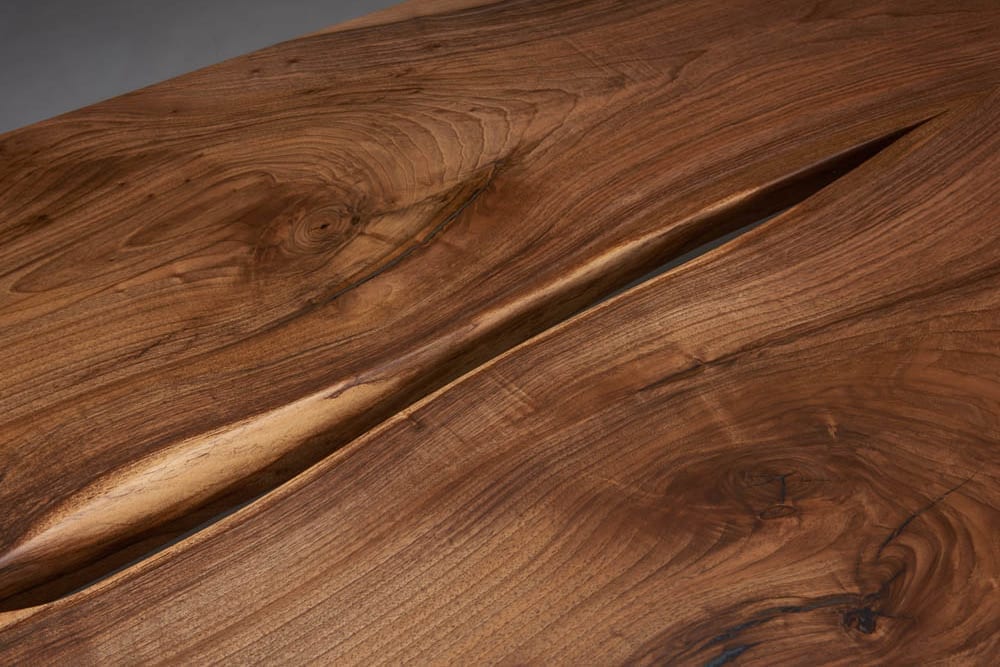
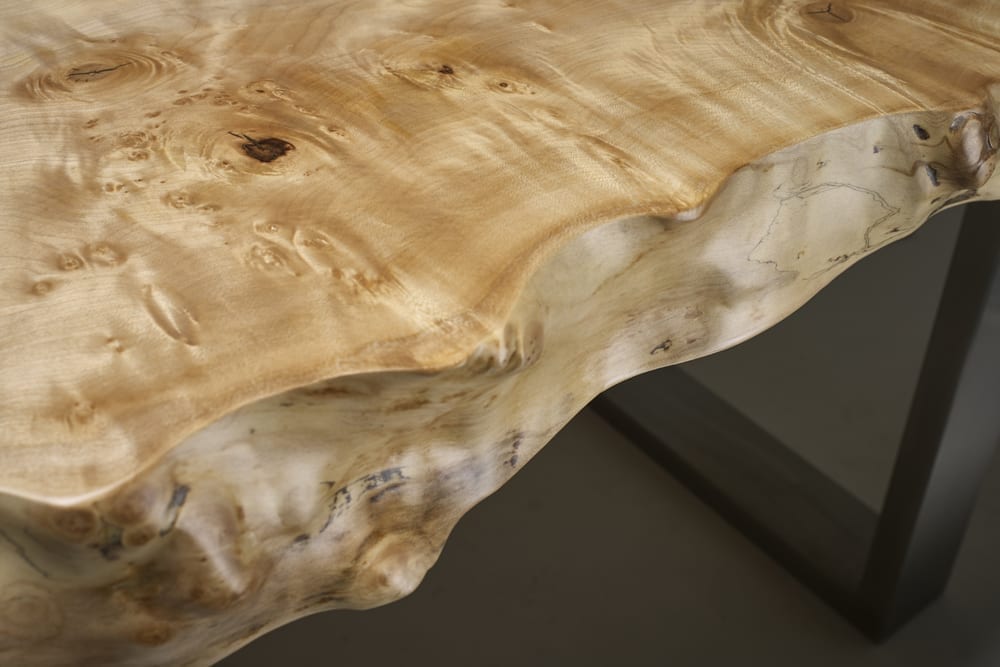
Over the years we’ve seen our fair share of kilns: the ‘ovens’ at the heart of every brilliant sawmill for drying timber. There is an art and science to the successful running of these hangar sized ovens to ensure prized timber, and nothing less, is achieved each and every time. Live edge tables, featuring natural and rustic beauty, have become an obsession of ours here at L’Atelier Mata. To create these stunning pieces, hardwood slabs must undergo a meticulous kiln drying process. In this blog post, we will delve into the science behind kiln drying timber, exploring the principles and techniques that ensure their stability, durability, and suitability for live edge table production. By understanding the science behind kiln drying, you can make informed decisions, optimize the quality of your slabs, and deliver exceptional products to your customers.
The Science Of Drying Timber
Once cut timber slabs undergo two to three summers stacked outside to gradually season the timber and bring down moisture levels prior to the kilning process. Kiln drying is a crucial next step in the processing of hardwood slabs, as it eliminates excess moisture, kills off insect activity, stabilizes the wood, and minimizes the risk of warping, splitting, or other defects. By reducing the moisture content, kiln drying enhances the strength, density, and dimensional stability of the wood, allowing it to withstand changes in humidity and temperature more effectively. For this very reason only the most exerienced operative, often with decades of exerience, is chosen by the sawmill to undertake the work – in most situations it is the sawmill owner her/himself!
The Science Behind Kiln Drying: The kiln drying process involves a careful balance of heat, humidity, and airflow to achieve optimal results. Several scientific principles come into play during this process.
Moisture Content and Equilibrium Moisture Content (EMC): Moisture content (MC) refers to the amount of water present in wood, typically expressed as a percentage of the wood’s weight. Kiln drying aims to reduce the moisture content to a desired level. Equilibrium moisture content (EMC) refers to the moisture content at which wood reaches a balance with the surrounding environment. The target moisture content for hardwood slabs used in live edge tables is usually around 6-8%.
Drying Schedule: A drying schedule outlines the specific temperature, humidity, and time parameters required for optimal drying. It is essential to follow a carefully designed drying schedule to ensure uniform drying and minimize the risk of defects. The schedule typically involves three stages: the initial heating phase, the main drying phase, and the conditioning phase.
Heat and Moisture Transfer: Heat and moisture transfer occur simultaneously during kiln drying. The heat energy raises the temperature inside the kiln, increasing the vapor pressure of the moisture in the wood. This pressure gradient drives moisture movement from the wood’s interior towards the surface. Proper airflow and ventilation ensure the removal of evaporated moisture from the kiln, preventing reabsorption and promoting efficient drying.
Wood Structure and Stress Relief: The structure of wood consists of long cellulose fibers embedded in a matrix of lignin. During the kiln drying process, as moisture is removed, the shrinking and rearrangement of wood fibers can create internal stresses. These stresses, if not relieved properly, can lead to warping or cracking. Conditioning, the final phase of kiln drying, allows the wood to rest and equilibrate, minimizing residual stress.
Monitoring and Control Of Drying Timber: To ensure successful kiln drying, precise monitoring and control of temperature, humidity, and airflow are paramount. Modern kilns are equipped with sensors and controllers that continuously measure and adjust these parameters, providing a controlled drying environment. In the careful introduction of heat, moisture and airflow the operator expertly creates premium quality slabs over 4 to 6 weeks of careful work!
What Can Go Wrong When Drying Wood?
There are several things that can go wrong during the kiln drying process, leading to potential issues with the wood. Here are some problems that can occur:
- Uneven drying: If the drying process is not carefully controlled, there is a risk of uneven drying within the wood. This can result in stress build-up, warping, or cracking. Proper air circulation and temperature control are crucial to ensure uniform drying.
- Overdrying: Excessive heat or prolonged drying can cause the wood to become overly dry, leading to brittleness, increased susceptibility to cracking, and potential damage to its structural integrity. It’s essential to monitor the drying process closely to avoid over-drying.
- Case hardening: Case hardening occurs when the outer layer of wood dries too quickly, forming a hard shell while the interior remains moist. This creates tension within the wood, which can lead to warping, splitting, or checking. Proper drying schedules and moisture content monitoring can help prevent case hardening.
- Internal stresses: Wood contains internal stresses that can be released or exacerbated during the drying process. Improper drying conditions or rapid moisture removal can cause these stresses to manifest as warping, twisting, or cupping in the wood.
- Mould and fungal growth: If the kiln is not properly ventilated or if the drying conditions are not adequately controlled, there is a risk of mould and fungal growth on the wood. This can degrade the quality of the wood, affect its appearance, and potentially lead to health hazards.
- Insect infestation: If the drying timber already contains insect larvae or eggs, inadequate temperature control or insufficient drying time can result in the survival of these pests. This can lead to insect infestation and subsequent damage to the wood.
Conclusion
Kiln drying timber is a scientifically driven process that optimizes hardwood slabs for live edge table production. By carefully managing heat, humidity, and airflow, kiln drying eliminates excess moisture, enhances wood properties, and reduces the risk of defects. Understanding the science behind kiln drying enables the sawmill to produce high-quality slabs, achieve dimensional stability, and deliver exceptional products to their customers (us in this case). Embracing the principles of kiln drying ensures that the natural beauty of live edge tables is combined with durability and longevity so that each table truly will last a lifetime..